How to Choose the Right Hex Nuts for Your Project?
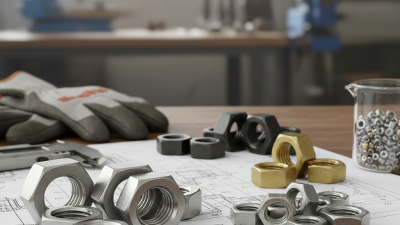
Choosing the right Hex Nuts starts with the joint, not the parts bin. A nut may look correct and still loosen, corrode, or damage its mating bolt. The details matter: thread diameter and pitch, nut height, material, strength class, surface finish, and the forces the assembly must withstand. A small mismatch can become obvious only after vibration, heat, or moisture reaches the connection.
Richard T. Barrett, author of NASA’s Fastener Design Manual, provides a useful technical reference for fastener selection. A paraphrase of its design lesson is: “Match the fastener to the joint’s loads and service conditions, not merely its appearance.” This is a paraphrase, not a verbatim quotation. In practice, check that the nut and bolt have compatible threads and suitable strength ratings. Consider whether stainless steel, a coated steel nut, or another material better fits the environment. Follow the equipment maker’s torque guidance; there is no single torque value for every nut and bolt combination.
Small details count. A nut that spins freely on a bolt may still be the wrong fit. A washer can spread bearing pressure, but it cannot fix mismatched threads. Locking features may help resist loosening, yet they are not a substitute for correct installation. That sounds simple. It is easy to overlook when a project is rushed. This guide will explain how to compare common Hex Nuts, read key specifications, and choose a practical option for your project—with careful attention to fit, load, and surroundings.
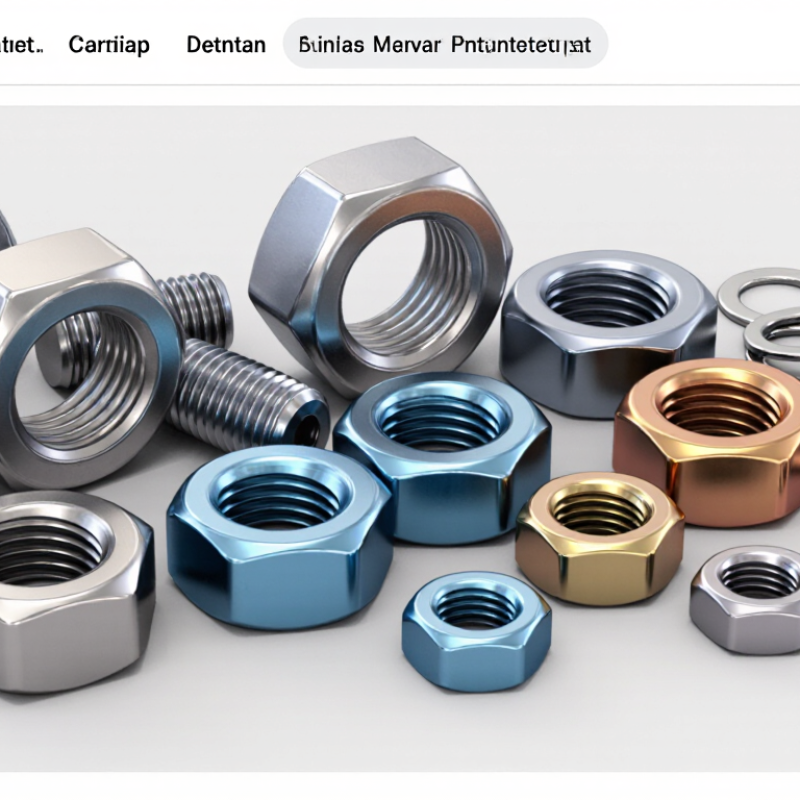
Identify the Bolt, Thread, and Required Fit
A hex nut should match the bolt’s diameter, thread form, and pitch. A metric bolt needs a metric nut; similar-looking inch threads are not interchangeable. Check the bolt marking or measure its outside diameter, then verify the pitch with a thread gauge. For example, an M8 bolt may have a 1.25 mm coarse pitch, but fine-pitch versions exist. Guessing can make a nut bind or wobble. Neither is a reliable fit.
Tips: Start the nut by hand for several turns. It should move smoothly, without catching. If it resists early, stop and recheck the size and pitch; a wrench can hide a mismatch and damage the threads. Also check the nut’s height and wrench size against your available clearance. Small details matter.
Choose the nut style for the joint, not just the bolt. A standard hex nut suits many general assemblies, while a lock nut may help where vibration could loosen the joint. Match the nut’s material and finish to the bolt and working environment to reduce corrosion or strength mismatches. For a load-bearing connection, follow the project specifications and use compatible, rated fasteners. Fit can feel subjective at first, so verify it before tightening.
Determine the Load and Strength Requirements
Before choosing a hex nut, estimate the load the joint will carry, including weight, impact, and repeated movement. A shelf bracket holding steady equipment faces different demands from a trailer connection that bounces over rough roads. That matters. The nut’s strength should suit the bolt’s strength; a weaker nut can strip or fail before the bolt reaches its intended capacity. Check the nut and bolt markings, material, diameter, and thread pitch rather than judging strength by appearance.
Also consider how the load reaches the joint. Thin or soft materials can compress, while short thread engagement may leave too little contact for a secure connection. Tightening torque affects clamping force, but friction and tool accuracy make the result less predictable than it seems. Real assemblies are rarely perfect. A painted surface, worn wrench, or slightly misaligned hole can change how the joint behaves. For vibration or changing loads, use an appropriate locking method and inspect the connection during service. Corrosive or wet conditions may require a compatible, corrosion-resistant material. If failure could cause injury or major damage, verify the load calculations and fastener specifications with a qualified engineer.
Choose the Nut Material and Protective Finish
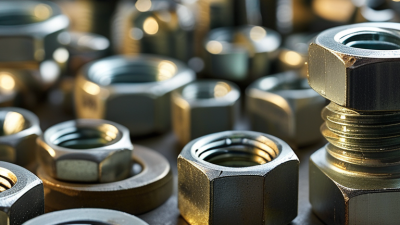
Hex nuts work best when their material and finish suit the conditions around the joint. For outdoor equipment or damp rooms, stainless steel can resist corrosion, but it is not automatically the strongest choice. Check the required strength grade and the bolt material too. Dissimilar metals may corrode faster when moisture bridges them. In dry indoor assemblies, plain or zinc-plated steel may be adequate. Salt spray, cleaning chemicals, and heat can change that decision.
Tips: Match the nut and bolt materials. Check that the protective coating is compatible with both parts, and confirm coated threads still fit smoothly. A tight fit matters.
Zinc plating offers a thin barrier for many general-purpose applications, while hot-dip galvanizing provides a thicker coating for harsher exposure. That extra thickness can affect thread fit, so use nuts intended for the matching coated bolt. Black oxide offers limited corrosion protection and usually needs oil or another protective layer. A shiny finish can look reassuring, but appearance alone says little about service life. Even a careful choice can miss a detail, such as condensation inside an outdoor enclosure. Review the actual environment and assembly specifications before ordering.
Compare Nut Styles, Dimensions, and Standards
Hex nuts differ in height, bearing area, and resistance to loosening.
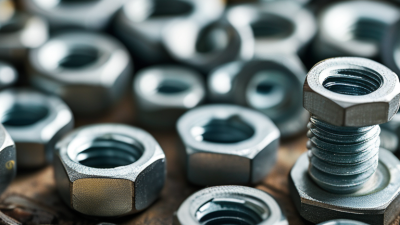
A standard hex nut suits general through-bolt joints. Thin nuts work where clearance is tight, but offer fewer engaged threads. Flange nuts spread pressure across a wider surface. Prevailing-torque nuts resist rotation, though repeated reuse can reduce their locking performance.
Small parts matter.
Dimensions and standards help confirm fit. ISO 4032 lists standard hex-nut dimensions; for an M10 nut, the across-flats width is 16 mm. ISO 261 gives M10 coarse threads a 1.5 mm pitch. Check both measurements against the bolt and tool access. ISO 898-2 covers mechanical properties for metric nuts, while ASME B18.2.2 covers inch-series nut dimensions.
Standards are not interchangeable by default. Confirm the specified system and property class before ordering.
Tips:
Match the nut’s material and property class to the bolt, using the applicable ISO 898-2 tables or project specification. Check the thread by hand before tightening; it should turn smoothly, without binding. Then verify wrench clearance around the flats. A common oversight is coating thickness, which can affect thread fit. Recheck after finishing.
Plan the Tightening and Locking Method
Choose the tightening method before selecting a locking feature. NASA’s Fastener Design Manual, Reference Publication 1228, illustrates why torque needs care: approximately 50% overcomes thread friction, 40% overcomes friction beneath the nut, and only 10% creates fastener stretch. These are representative values, not a guarantee for every joint. Surface finish, lubrication, and coatings can shift the result.
Small detail. Big consequence.
For a hex nut on a vibrating assembly, compare a prevailing-torque nut with a suitable thread-locking method. ISO 2320 specifies performance requirements for prevailing-torque steel nuts, including checks of their locking torque. Match the nut material and strength class to the bolt, temperature, and service conditions. A nylon insert may not suit elevated heat; an all-metal option may be more appropriate, subject to its specifications.
Locking features resist rotation, but they do not replace adequate clamp load.
Use the fastener maker’s specified lubrication and tightening procedure; changing either can change preload. For a multi-bolt flange, snug the nuts in a cross-pattern, then tighten in controlled stages with a calibrated wrench. Mark each nut against the joint with a fine witness line. It makes movement easier to spot. Rechecking is not always harmless, so follow the joint’s maintenance procedure rather than tightening by feel.
I still find friction assumptions easy to underestimate.